


Dear Dirty Dozen Team Member,
I hope this message finds you healthy and well. We have been spending time cataloging the vast array of imagery that we have collected over the years from all our incredible expeditions.
Since our photos have been used in dive press, exhibitions and are on canvas prints on walls all over the world, we thought we would share some of our wreck photography protocols for all those aspiring wreck hunters. Let’s get straight to it!
A SEMI-PRO RIG IS NOT A DEPOSIT ON A HOUSE
A common misconception is that to get photos that adorn dive magazines worldwide you need years of experience and photo equipment that belongs on decks on National Geographic shoots.
Well, in part this is true, however, the daily rig that I acquired as a workhorse for DD expeditions as you can see in the photo below, cost me less than 3000$ second-hand. It is not the newest DSLR on the market but it has already taken several magazine cover shots, with hopefully many more to come. I will list in detail what equipment I use personally for wreck photography below.

FIGURE OUT YOUR RIG - AND SETTINGS
Let me guess - you spent a fortune on your dream photo setup with offboard lights and you found yourself pretty flustered on the dive deck after taking the setup out the first few times!
From learning how to weigh your housing correctly to understanding what buttons to press, underwater photography is complicated at the best of times, especially with a rebreather. Mix in variable exposure, visibility, and hundreds of moving objects in one shot at a time, and you could easily be overwhelmed.
When I knew my underwater photography was going to be wreck-focused for quite some time - I decided to rig my setup to make it as simple as possible to operate while taking care of the people around me on our expeditions.
Having spent most of my career filming underwater, a simple mechanical housing with a fixed 15mm lens has worked best for me. It allowed me time to get comfortable with adjusting the important part - camera settings and lights while “restricting” myself to 15mm.

Photo Settings
Wreck: Shinkoku Maru
Location: Truk Lagoon
Depth: 20m/60ft
Camera/Housing: Nikon D800/Aquatica housing with Acrylic Dome
Focal length: 15mm SIGMA
F-number: 2.8
Exposure time: 1/250
Onboard Lights: 2 x 15K Lumens - Big Blue
The beauty of this focused learning curve is that once you have your camera settings dialed, they only need slight adjustments while your shoot in the same environment (inside or outside a wreck for example).
Getting familiar with your camera and honing a winning set of baseline presets to begin your dive will help you accelerate the rate at which your images improve on a dive trip.
PLANNING
For some background on the photo below: I had a light assistant, a professional model, and only two dives to get the money shot on this very well-known wreck and we decided to head straight for the famous 16” guns!
Sometimes you only get one shot, and this time was no exception.
Step 1: Find a good model that is willing to sacrifice their own exploration on one of the dives for the perfect shot.
Step 2: Find a light donkey/assistant to carry all the heavy offboards! Our liveaboard vessels rent these bad boys out (and possibly the donkey too) which can save you mega $$$ for this kind of setup.
Step 3: DO NOT try and do everything on one dive. On this shot, Geoffrey and I figured out the offboard lights and test shot on the first dive. We left the lights on the wreck in position and returned on the second dive to shoot so we would have a much higher chance for success due to our careful planning and execution

Photo Settings
Wreck: IJN Nagato
Location: Bikini Atoll
Depth: 60m/200ft
Camera/Housing: Nikon D800/Aquatica housing with Acrylic Dome
Focal length: 15mm SIGMA
F-number: 2.8
Exposure time: 1/25
Onboard Lights: 2 x 15K Lumens - Big Blue
Offboard Lights: 2 x 30K Lumens + 2 x 15K Lumens - Big Blue
We ended up spending the best part of an hour at 60m getting this shot. It can be very hard to decide what to spend your time and energy on. But for the money shot, you need planning.
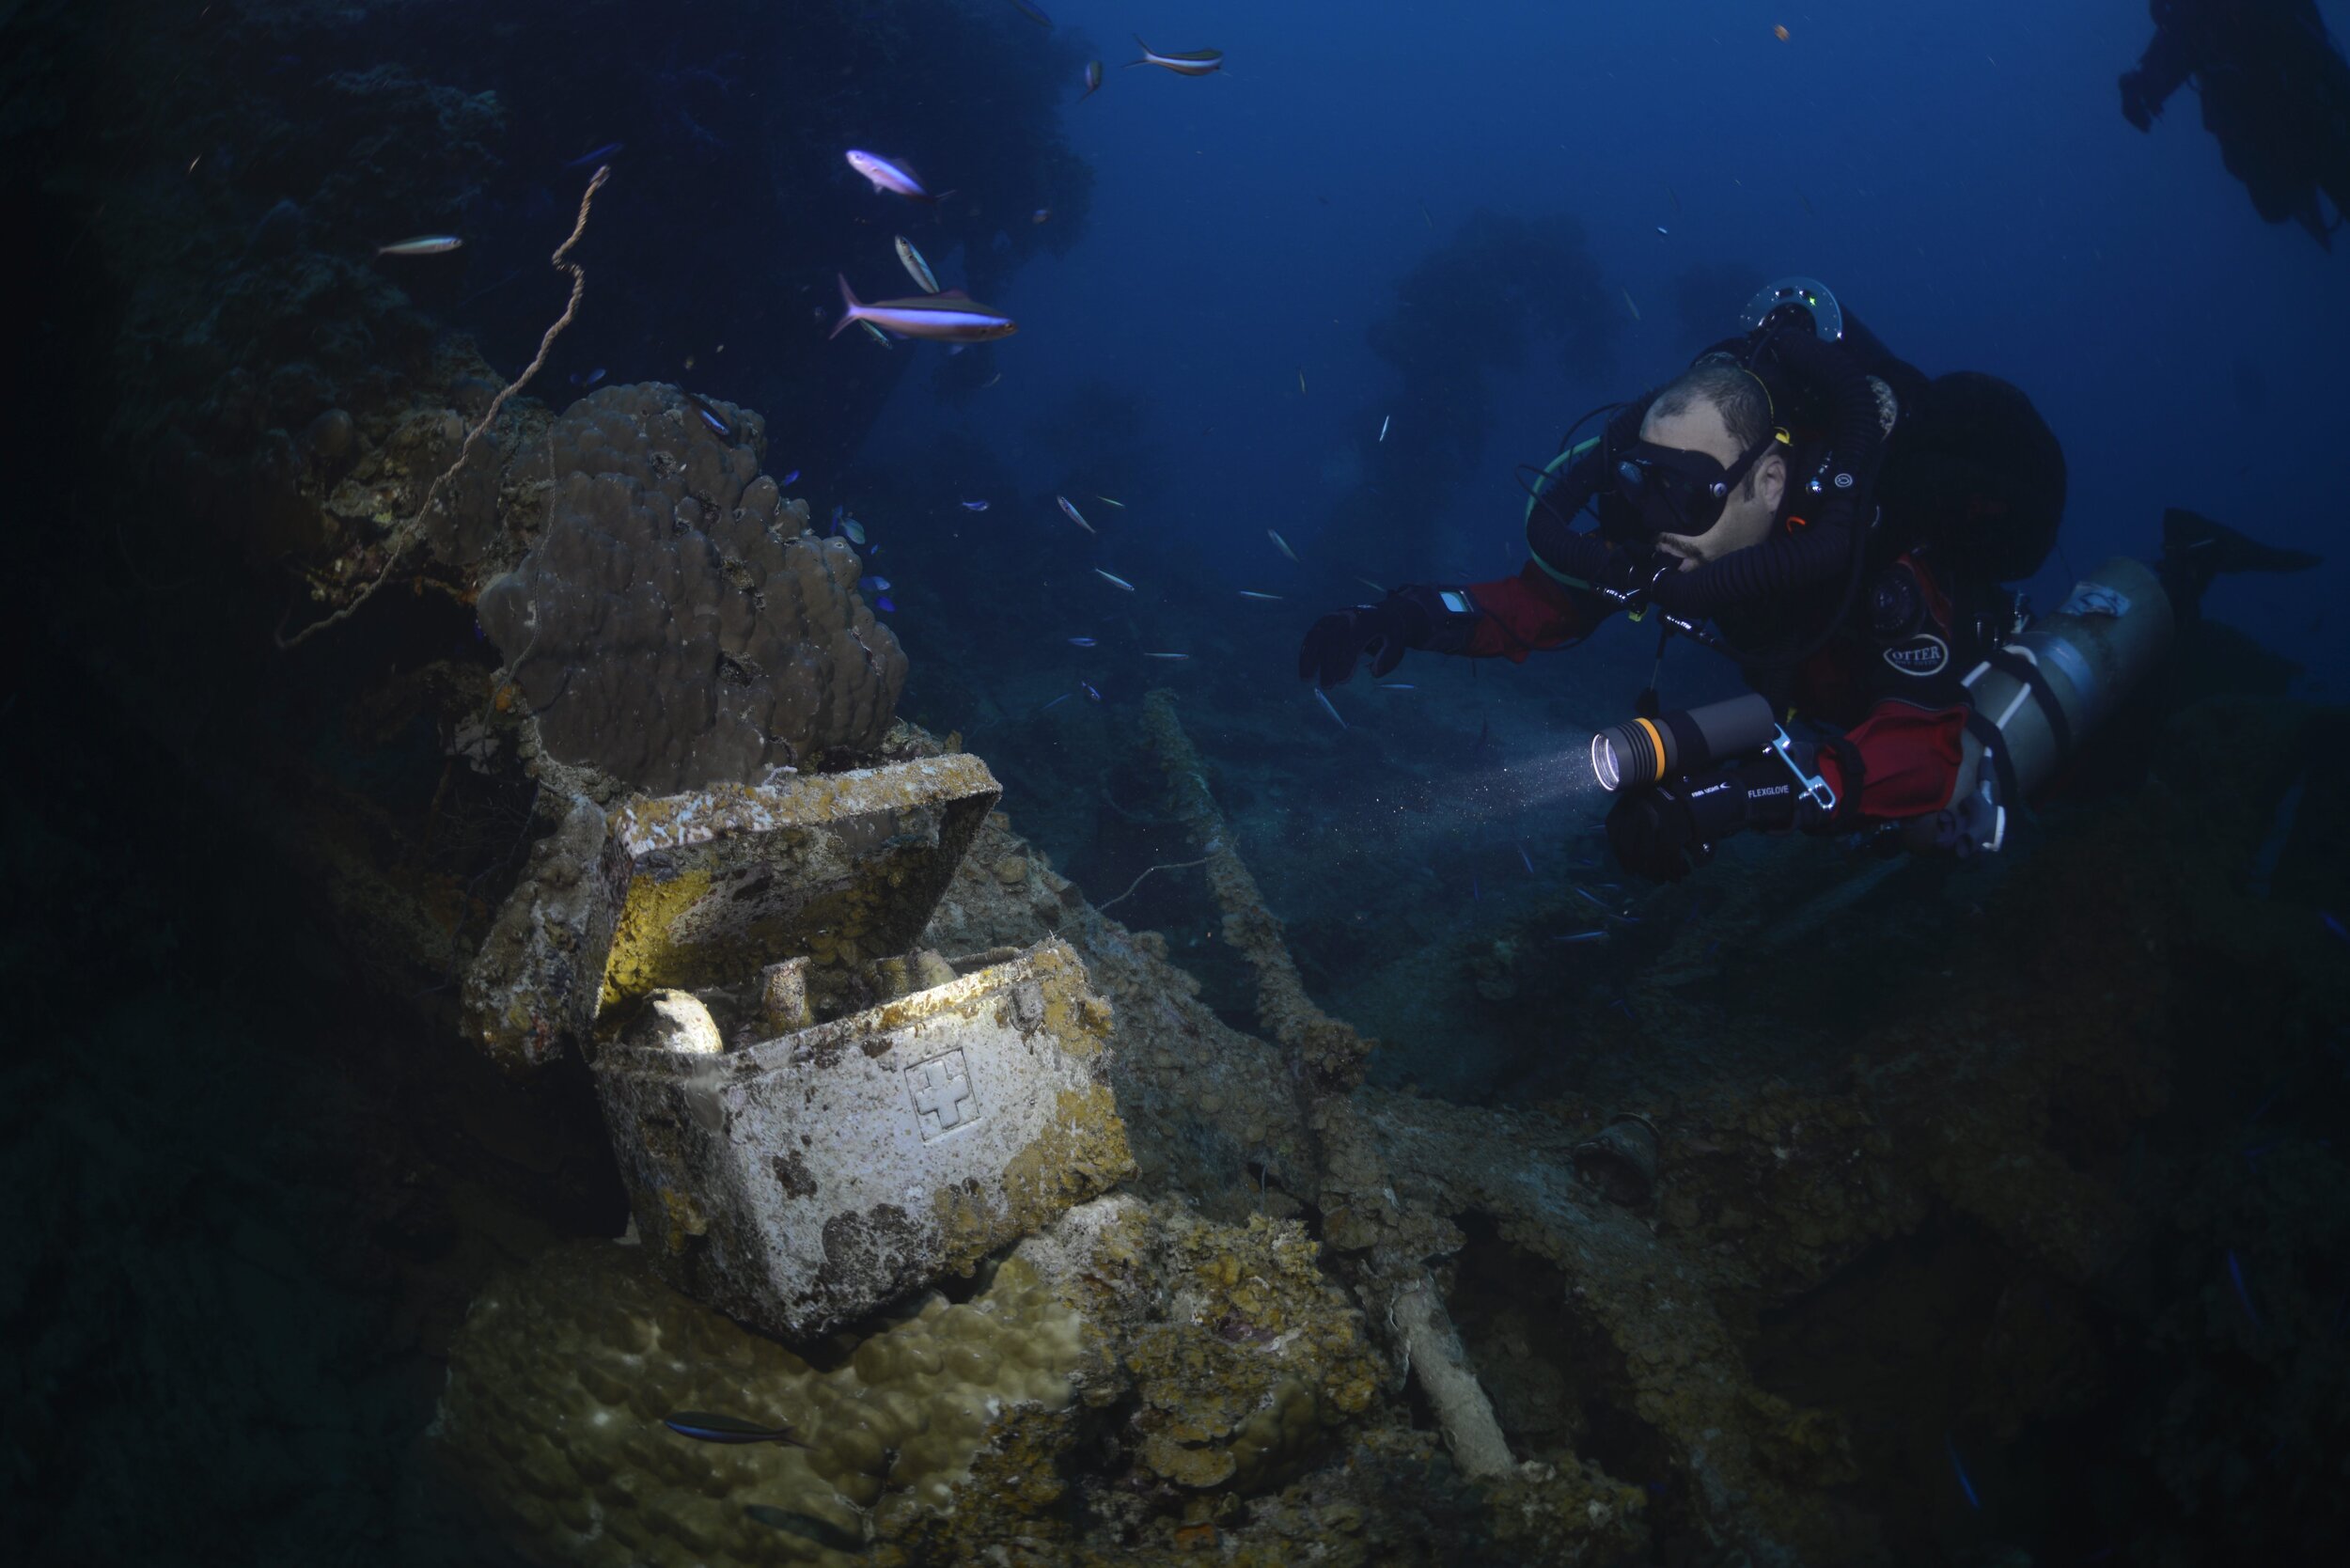
SHOOT FROM THE HIP
Contrary to the advice above, one of the best tips I received from a dear friend was to shoot from the hip.
With big memory cards that get cleared after every dive onto primary and backup drives, you have the luxury of space! Shooting random shots from the hip during the dive can come out great. It makes the whole process more fun and you can look forward to finding that great shot during post-production sessions in the lounge between dives.

Wreck: Nippo Maru
Location: Truk Lagoon
Depth: 40m/120ft
Camera/Housing: Nikon D800/Aquatica housing with Acrylic Dome
Focal length: 15mm SIGMA
F-number: 3.2
Exposure time: 1/250
Onboard Lights: 2 x 15K Lumens - Big Blue
POST-PRODUCTION CAN BE KEY
This is where the magic CAN happen! Note that your new best friend will be white balance, so make sure you shoot in RAW. Sometimes a rusty dome, pesky fish, and plankton can be a distraction to the wreck story you want to tell.
Photoshop Spot Healing Brush says no problem! But be careful here as there is a fine line between distorting reality and telling a story. Focus on transforming your underwater photos into something you would be proud to share.
Before editing in post production.

After editing using Photoshop.
FINAL TIP - REMEMBER TO HAVE FUN

Underwater photography can become an obsession, and I have found myself behaving in ways that were maybe not appropriate because I put too much pressure on the shot. This can be a hindrance to the enjoyment of wreck diving for you and the people around you.
Try diving with a buddy who shares your passion for capturing the perfect moment, remember to have fun and the MONEY shots will come!
IN OTHER NEWS

COVID-19 VACCINES ARE NOW MANDATORY FOR FSM CITIZENS RESIDING IN THE FSM.
The Office of the President of FSM released the following statement yesterday:
“As of July 25th, 2021, 49.6% of the eligible adult population defined as citizens 18 years and older have been fully vaccinated in the Federated States Of Micronesia, and formalizes that the “FSM’s COVID-19 vaccination goal is to transition from COVID-19 free to COVID-19 protected with at least 70% vaccination coverage.”
'This emphasizes that the Executive and Legislative Branches of the FSM National Government are cooperative, aligned, and in agreement in this area. The practical effect is that all FSM citizens who are eligible to be vaccinated, with limited exception, are required to become vaccinated.”
The end result of FSM going into a transition from “COVID FREE” to “COVID PROTECTED” is fantastic news for our upcoming expeditions and we look forward to see how this development pans out over the summer.
END OF 2022 TRUK LAGOON SEASON IN SHORT SUPPLY
Fancy joining a photography-based trip? Award-winning cave photographer SJ Alice Bennett and partner Jon Kieren are running a trip for us! There are only a couple of spots left so get in touch sooner than later.

KNOWLEDGE BASE REMINDER
This week we have been glued to Jacque Cousteau’s Lagoon of Lost Ships in the DDE Knowledge Base and watching Philippe Cousteau search out the wrecks in the lagoon using a sonar scanning system to discover the wrecks of Truk Lagoon as they had been left mid-fight, 25 years before during the war.
Check out this awesome film, and all our other resources in the DDE KB
That sums it up for Dirty Dozen this week. We hope you have some fun plans coming up this weekend but if not, don’t forget, if you are feeling lonely then we are here to chat Dirty.
Best,
Aron Arngrímsson and the DDE Team