

Arguably Truk Lagoon’s most famous wreck, the San Francisco Maru is one of the best-preserved reminders of the fierce battle that once raged across the Pacific theater. Today, it is the most popular deep dive in the Fourth Fleet Anchorage and an icon for divers seeking to witness a piece of wartime history frozen in time.
San Fransisco Maru
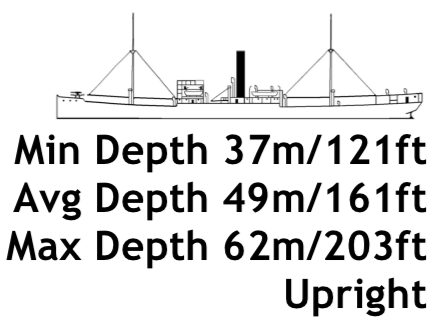
With a minimum depth of 37m, San Fran is mostly reserved for technical divers. TDI Extended Range/Trimix or Normoxic Trimix CCR rating is recommended to enjoy this wreck to the fullest.
A Legacy of Conflict

The Fourth Fleet Anchorage, just off Dublon Island, was a forward base for much of the Japanese Imperial Navy.
Truk Lagoon, situated in the Federated States of Micronesia, was a strategic stronghold for the Japanese Imperial Navy during World War II. Serving as a forward operating base, it was heavily fortified and considered a vital link in Japan's Pacific defense network.
However, in February 1944, Allied forces launched Operation Hailstone, a devastating airstrike that targeted the Japanese fleet anchored in Truk Lagoon. The surprise attack left a trail of destruction, sinking dozens of ships and aircraft in a matter of days.

San Francisco Maru billowing smoke in the middle. Photo credit of US Navy, photographer aboard USS Intrepid (CV-11)
Among the casualties of Operation Hailstone was the San Francisco Maru, a Japanese cargo vessel originally built in 1919 and repurposed by the Japanese military to transport supplies, ammunition, and troops across the Pacific.

The San Francisco Maru, built in 1919, in her first guise as a cargo vessel.
Adapting to Change
The history of the San Francisco Maru is a tale of maritime commerce and wartime adaptation. Originally constructed in 1919 by Kawasaki shipyards, she was one of over 70 cargo vessels of its class based on the British WWI ‘Standard Ship’ design.
She spent the first 20 years of her life transporting cargo around the Pacific for her owners Kokusai Kisen K.K. and, later, Yamashita Kisen Kabushiki Kaisa shipping lines. With a length of 385 feet and a displacement of over 7,000 tons, she was a formidable presence on the high seas, capable of carrying a diverse array of cargo ranging from raw materials to manufactured goods.
This aerial view of the San Francisco Maru shows her large holds capable of carrying 2,000 tons of coal.
However, the outbreak of World War II in 1939 heralded a new chapter in the ship's history. As global conflict engulfed the world, the San Francisco Maru found herself thrust into the midst of war. In 1942, following Japan's entry into the conflict, the vessel was requisitioned by the Japanese government as part of the war effort and repurposed for military use.
She was outfitted to serve as a transport vessel for the Imperial Japanese Navy, carrying coal, bauxite, and other vital raw materials from newly mandated islands back to Japan.
Throughout the early years of the war, the San Francisco Maru operated in relative obscurity, her activities shrouded in secrecy as she traversed the vast expanse of the Pacific theater. However, her anonymity would soon be shattered in the crucible of battle.

Original page from the U.S. Navy Recognition Manual, published in 1943, detailing the San Francisco Maru and other Japanese merchant vessels.
Her Final Days
On May 4, 1943, the San Francisco Maru suffered damage during an Allied attack on Wewak, New Guinea. She went into repair at Enoshima docks before sailing on to Truk, arriving on February 5, 1944.
Worried about an impending attack on their Pacific Fleet, the Japanese had begun moving their ships out of Truk to Palau, but despite the rest of her convoy departing on February 12, 1944, the San Francisco Maru remained in Truk.
Operation Hailstone commenced on February 17, 1944. The San Francisco Maru, sitting in the sheltered waters of Truk Lagoon’s Fourth Fleet Anchorage off Dublon Island, was a vulnerable target for the Allied bombers and torpedo planes. However, despite the meticulously planned assault she escaped damage on the first day of the attack.

San Francisco Maru sitting at anchor just off Dublon Island during the first wave of Operation Hailstone.
On February 18, 1944, waves of Group Strike aircraft descended upon the lagoon, continuing their assault from the day before. As the attack commenced, the sky was filled with the deafening roar of aircraft engines and the ominous whistling of falling bombs. Japanese anti-aircraft batteries unleashed a barrage of gunfire in a desperate bid to fend off the attackers, but their efforts proved futile against the overwhelming might of the Allied air armada.

The Grumman TBF Avenger was the most widely-used torpedo bomber of WWII and carried up to four, 500-lb bombs used in the strikes on Truk Lagoon.
Caught in the crossfire, the San Francisco Maru was subjected to a relentless onslaught of bombs and torpedoes. She was hit midships by a 500-lb bomb, dropped from a TBF Avenger from the USS Essex. Another bomb hit her starboard flank and a third brought down the mast as it blew a hole in her port side. A large fire engulfed the center of the ship, quickly shrouding her in smoke and flames as her aft holds filled with water. She sank stern first to settle upright in the sand with the loss of five crew.

Every hold on the San Francisco Maru is full of wartime supplies, from mines and detonators to cordite, ammunition, and fuel drums.
Exploring the Wreck

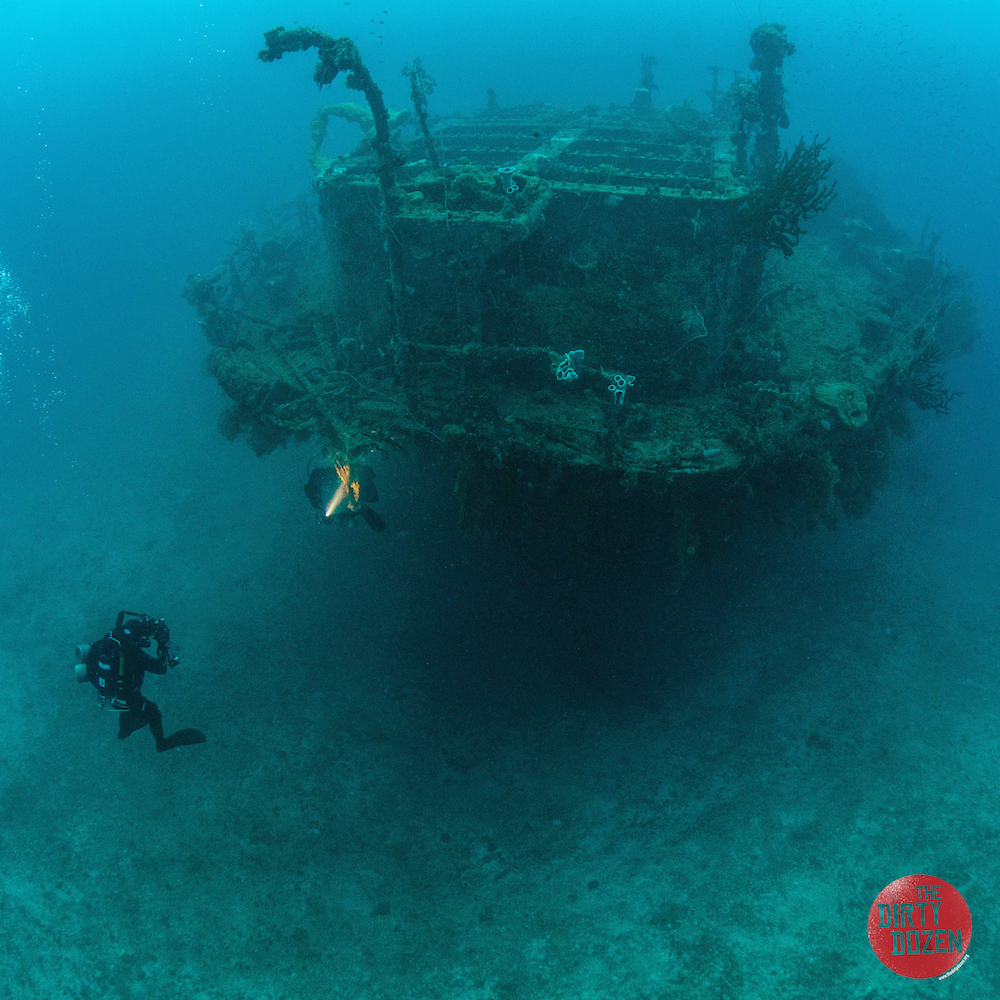
The San Francisco Maru sits upright in 205 feet of water, her impressive bow and anchor chains now home to whip corals, gorgonians, and other soft corals.
Today, the San Francisco Maru rests on the sandy seabed of Truk Lagoon with the deck at 165 feet and the seabed around 205 feet. She is often referred to as the “million dollar wreck” due to the huge amounts of cargo she was carrying when she sank.

Divers inspect the bow gun, encrusted in growth but still recognizable after nearly 80 years below the surface.
Descending down the bow mooring, divers are greeted by the imposing silhouette of the wreck’s intact bow gun pointing to the port side. Behind this sit three Mitsubishi Type 95 Ha-Go tanks, two to starboard and on top of each other, the third off to the port side.

A single Mitsubishi Type 95 Ha-Go tank sits forward on the port side.

The tanks to starboard rest across the gunnel but have remained in place for nearly 80 years.
Between the tanks lies a truck chassis, and below the port-side tank on the seabed can be found a large steamroller.

In good visibility, the steamroller can be seen looking down from the deck at 165 feet.
One of the biggest draws of this wreck is the huge cargo holds, each a time capsule of wartime artifacts. Hold No. 1 still boasts a full cargo of hemispherical beach mines (stacked in their original positions), detonators, shell casings, and boxes of cordite towards the front section. Hold No. 2 is home to two tanker trucks and a car in the tween deck space, as well as 50-lb bombs and shells. There is also a radial aircraft engine in the lower hold.
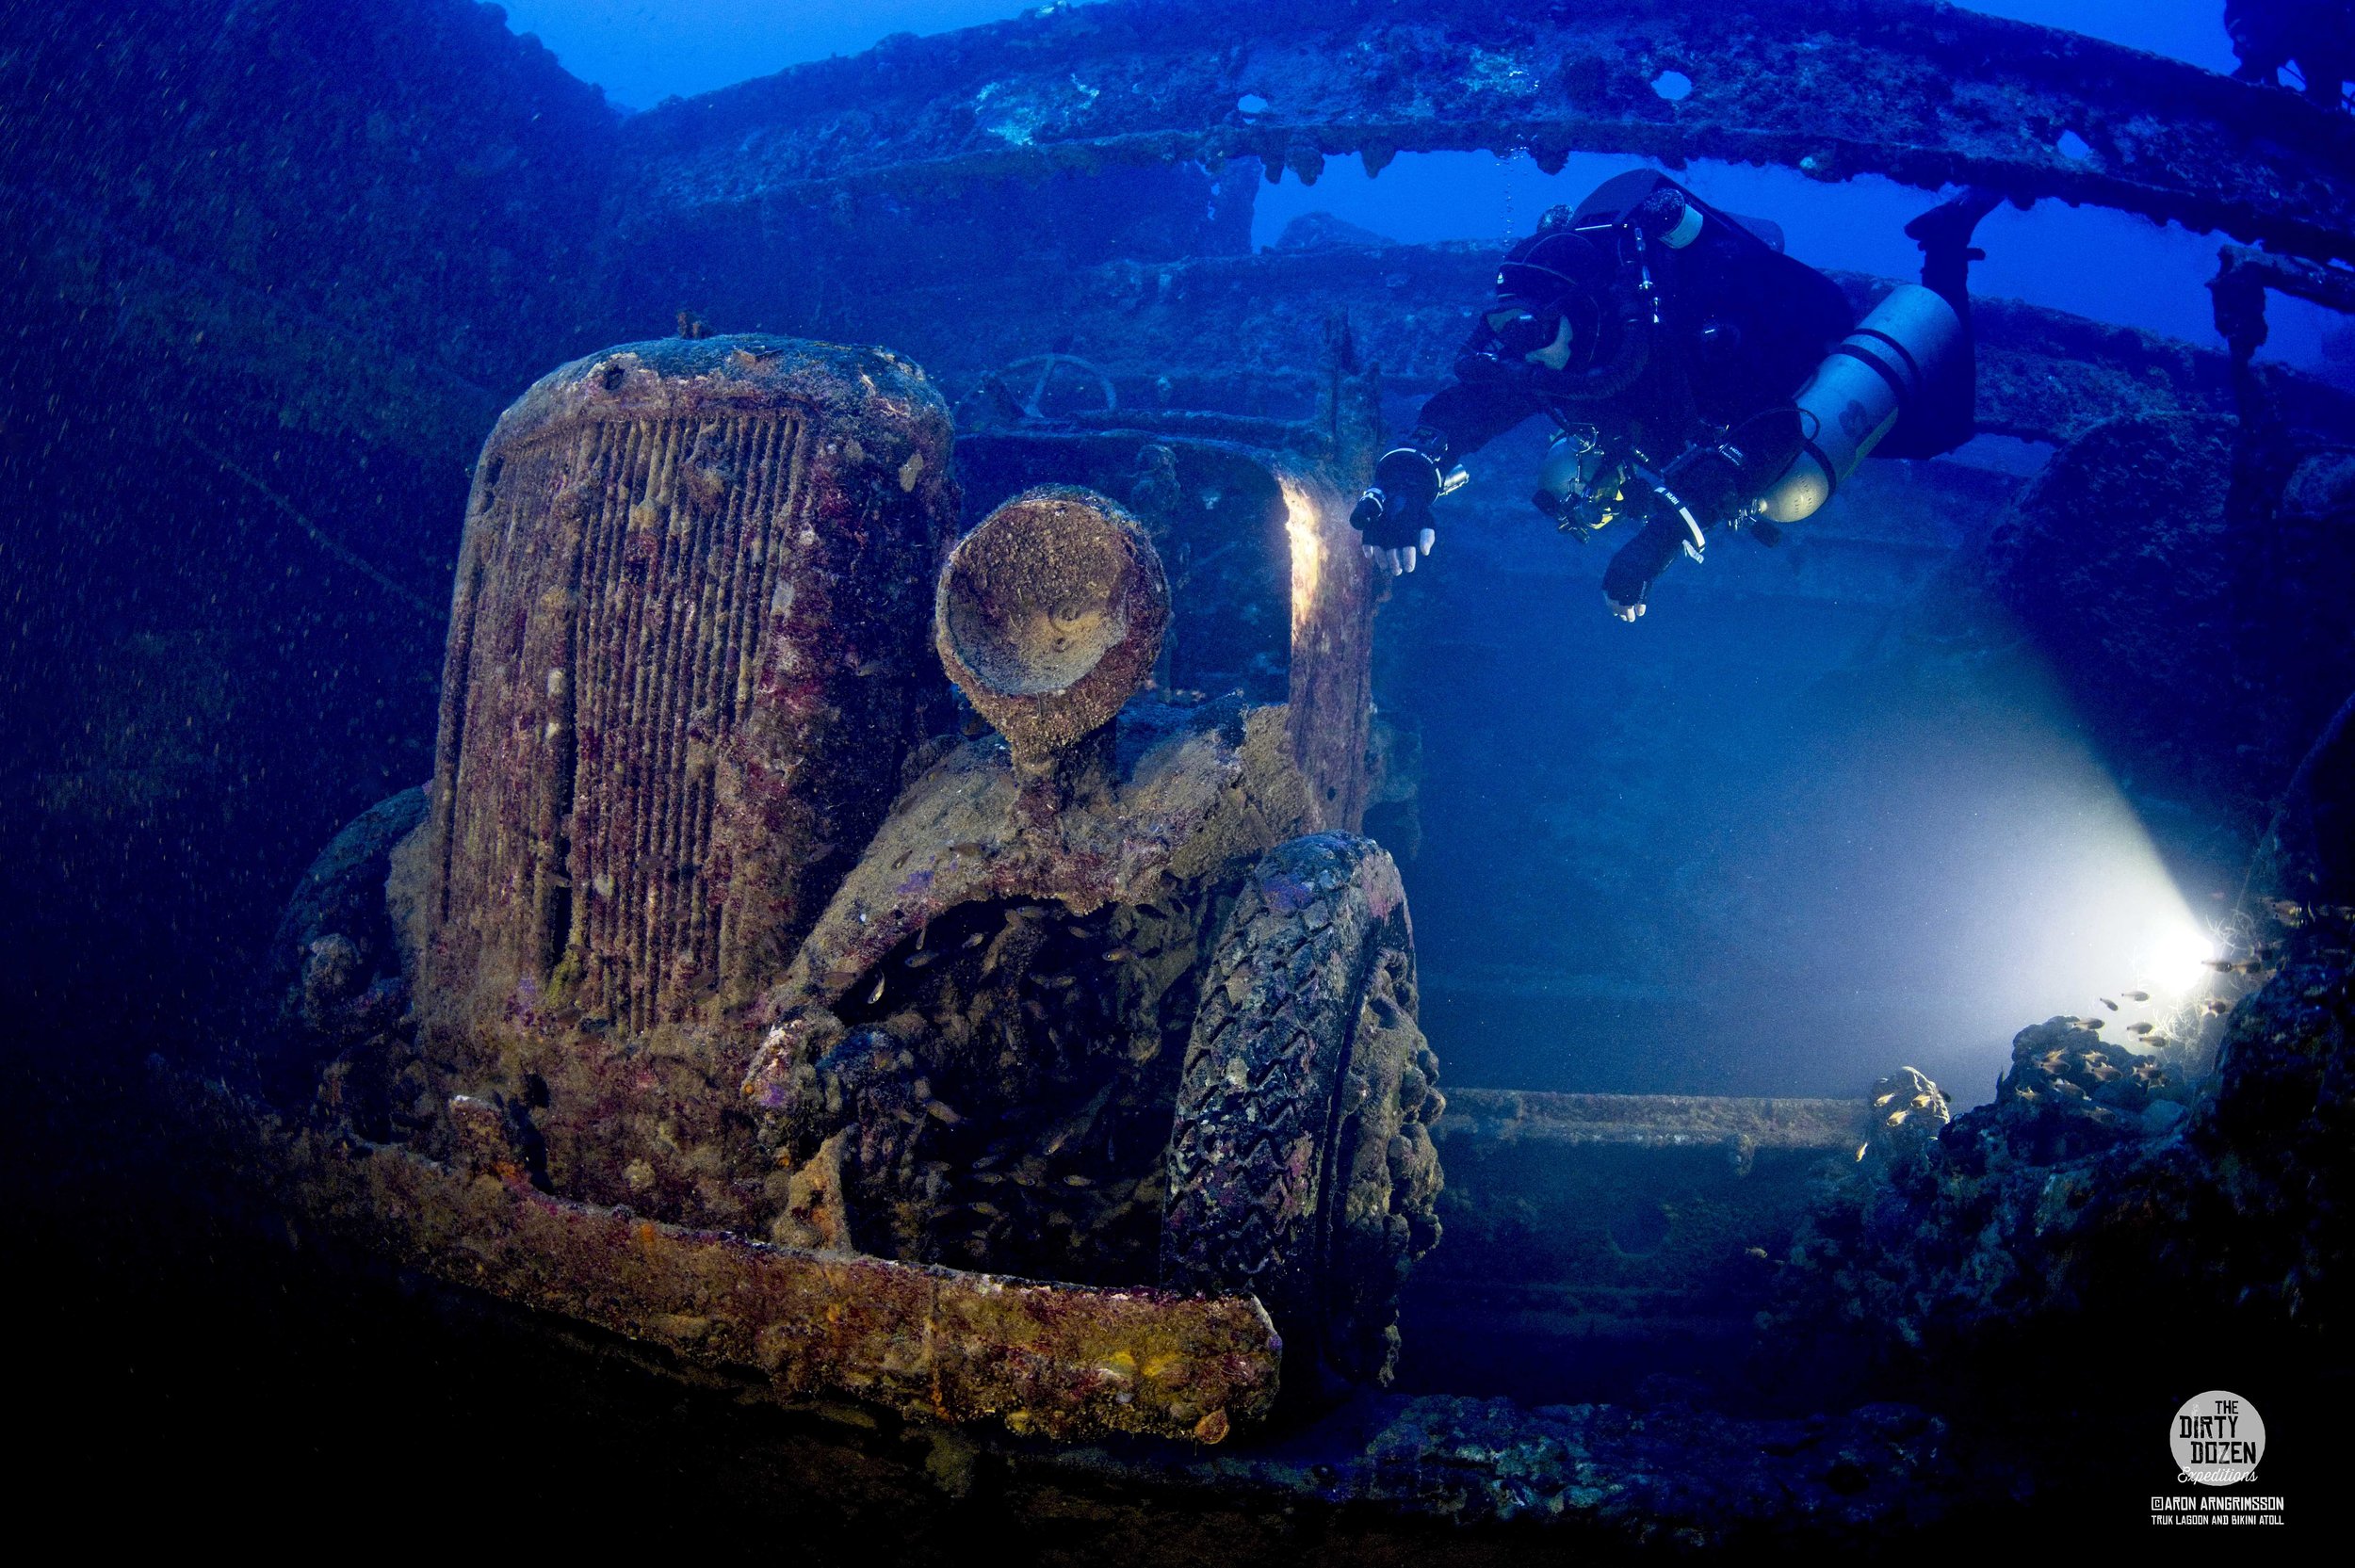
A staff car tucked between decks in Hold No.2. The car remains in excellent condition, its radiator grill, tire treads, and dashboard all still clearly visible.

Stacked boxes of detonators can be spotted in Hold Nos.1 and 4.
Hold No.3 was originally the coal bunker but now contains the collapsed remains of the ship’s funnel. Further aft, Hold No. 4 houses a large number of artillery shells, more hemispherical beach mines, detonators, other bombs and ammunition, and fuel drums. It is in this hold that the evidence of one of the critical bomb strikes can be seen. The deck around hold No. 5 has now collapsed inwards, however, it still contains torpedo bodies and engines, and more fuel drums. Another bomb strike can be seen on the starboard hull of Hold 5.

Hemispherical beach mines were laid along many of Japan’s beaches throughout the war as a defense against possible U.S. invasion.

A disintegrating box is just one of dozens, full of small arms ammunition.
While the San Francisco Maru’s hull is in good condition, her superstructure has largely collapsed. Initially damaged by the fires that broke out during the attack, it has since rotted in the 80 years since she sank. Only the skeletal framework of her bridge and upper deck levels remains, however, her prop and rudder are still in place.
A stern view of the San Francisco Maru - her single prop and rudder are still in place and intact.
A more humbling relic of her demise is the non-weaponry artifacts strewn throughout the wreck. Divers can discover cups and saucers, beer bottles, cooking utensils, medicine bottles, binoculars, and many other items that serve as a reminder of the human tragedy of this event.

Dive Deeper

Welcome to the world of Dirty Dozen Expeditions
The San Francisco Maru is one of the most frequently requested wrecks on Dirty Dozen Expedition’s Truk Lagoon itinerary. As one of the deeper dives in the lagoon, she is often reserved for later in our trips to ensure that all team members are dived up and ready to enjoy her to the fullest.
Liveaboard dives normally start from the bow mooring, although there is a midships line for smaller vessels which can also be used for decompression. We use a deco-bar for the 10 and 20-feet stops for added comfort. Runtime is usually around 120-150 minutes on CCR and 100 minutes on OC.
Find out more about joining a Dirty Dozen expedition and diving the San Francisco Maru, as well as the other spectacular wrecks of Truk Lagoon on our website or drop us an email at info@thedirtydozen.org.
WANT TO JOIN US?
CHECK OUT THE DATES BELOW AND RESERVE YOUR SPOT NOW
Text by Gillian Flaherty
Images by Aron Arngrimsson and Jill Heinerth
Historical Images from US Navy and IJN sources